Table of contents
- Prerequisites
- Building the MicoPython application
- Flashing the MicroPython application
- References
Prerequisites
- Before performing building and flashing operations we need to make sure that we have installed all the dependencies. For installing all the dependencies you can follow my previous blog or follow zephyr documentation.
- Since the BeagleConnect Freedom Board has not yet been merged in the Zephyr upstream please clone forked repository once all the remaining dependencies have been installed, remove the zephyr folder from the zephyrproject directory and paste the cloned zephyr folder into it to make sure that our board exists in the board directory while building it.
- Clone the MicroPython repository in your home directory.
Building the MicoPython application:
Once Zephyr is ready to use you can build the MicroPython port just like any other Zephyr application. You can do this anywhere in your file system, it does not have to be in the ports/zephyr directory. Assuming you have cloned the MicroPython repository into your home directory, you can build the Zephyr port for the beagleconnect_freedom_cc1352r board by following the following commands:
cd zephyrproject/zephyr
git checkout v2.6.0
west update
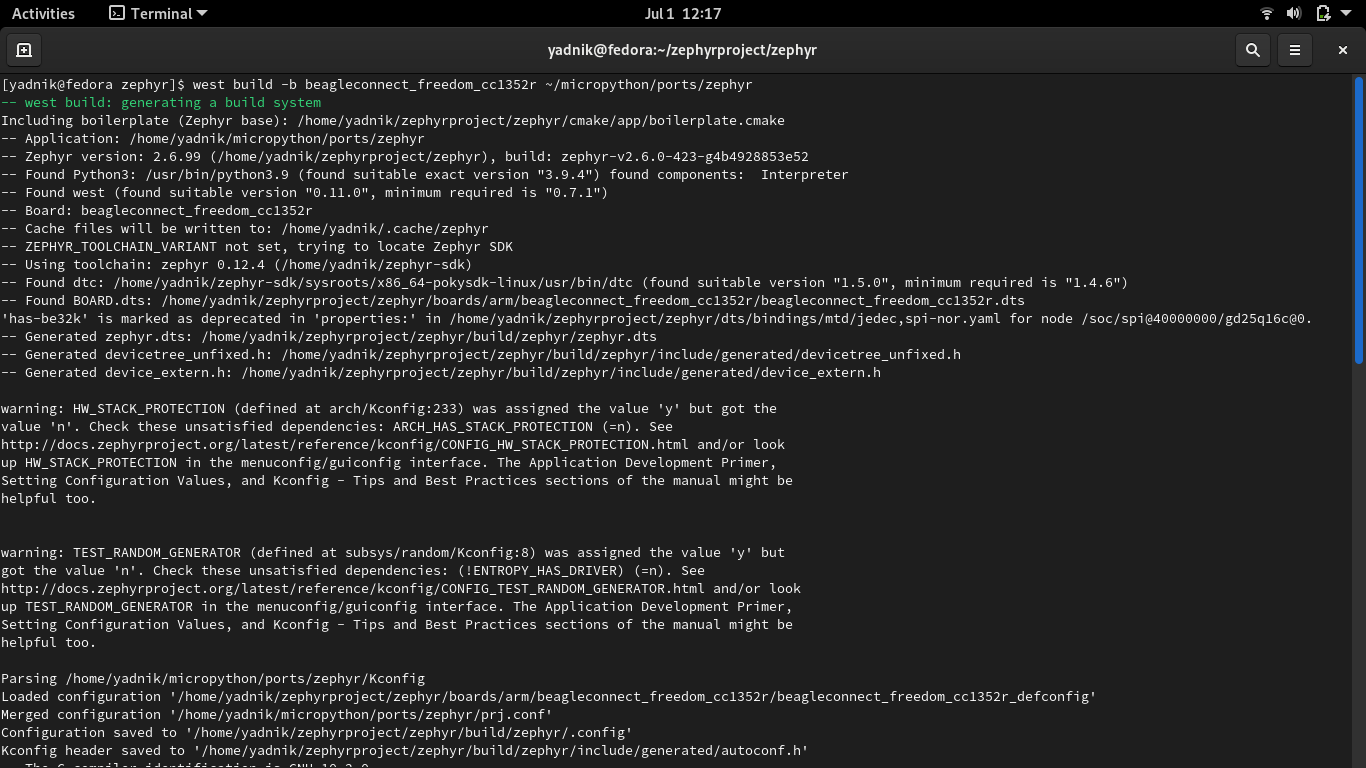
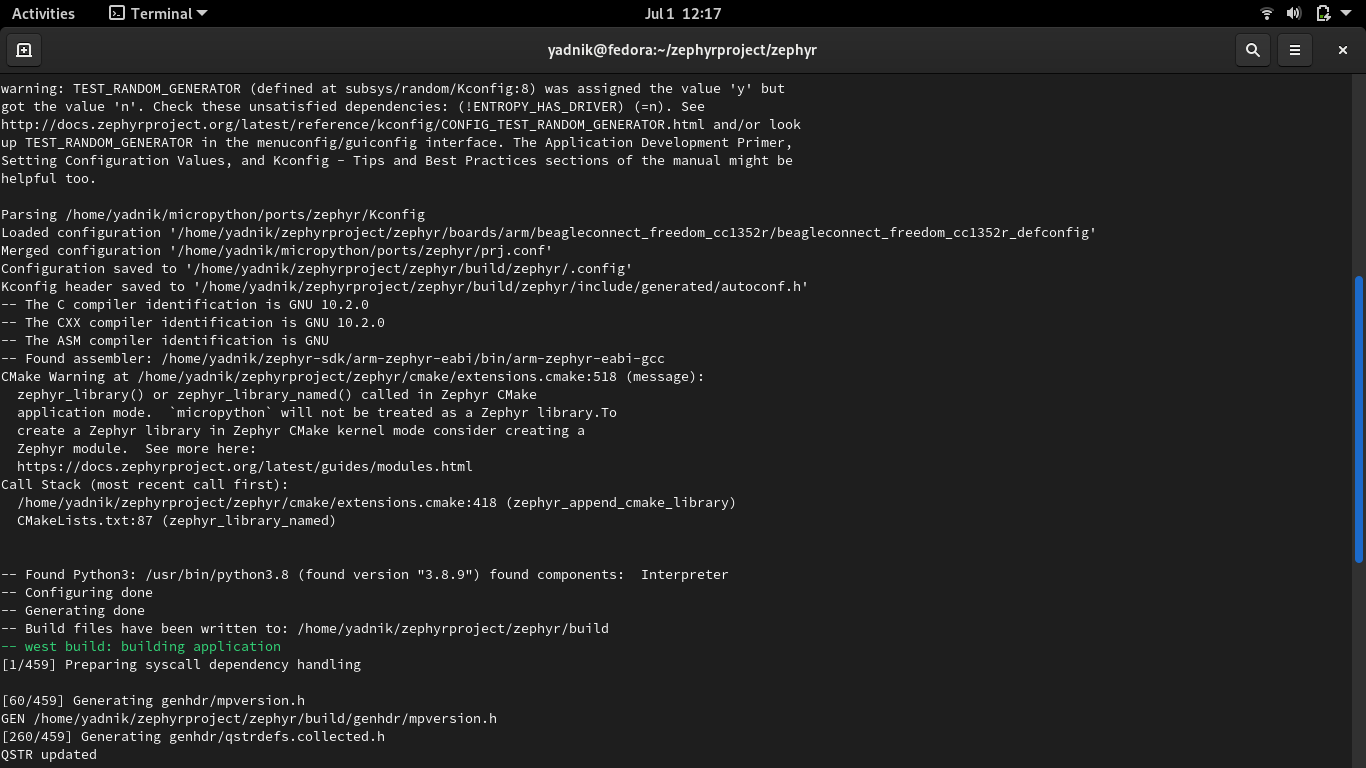
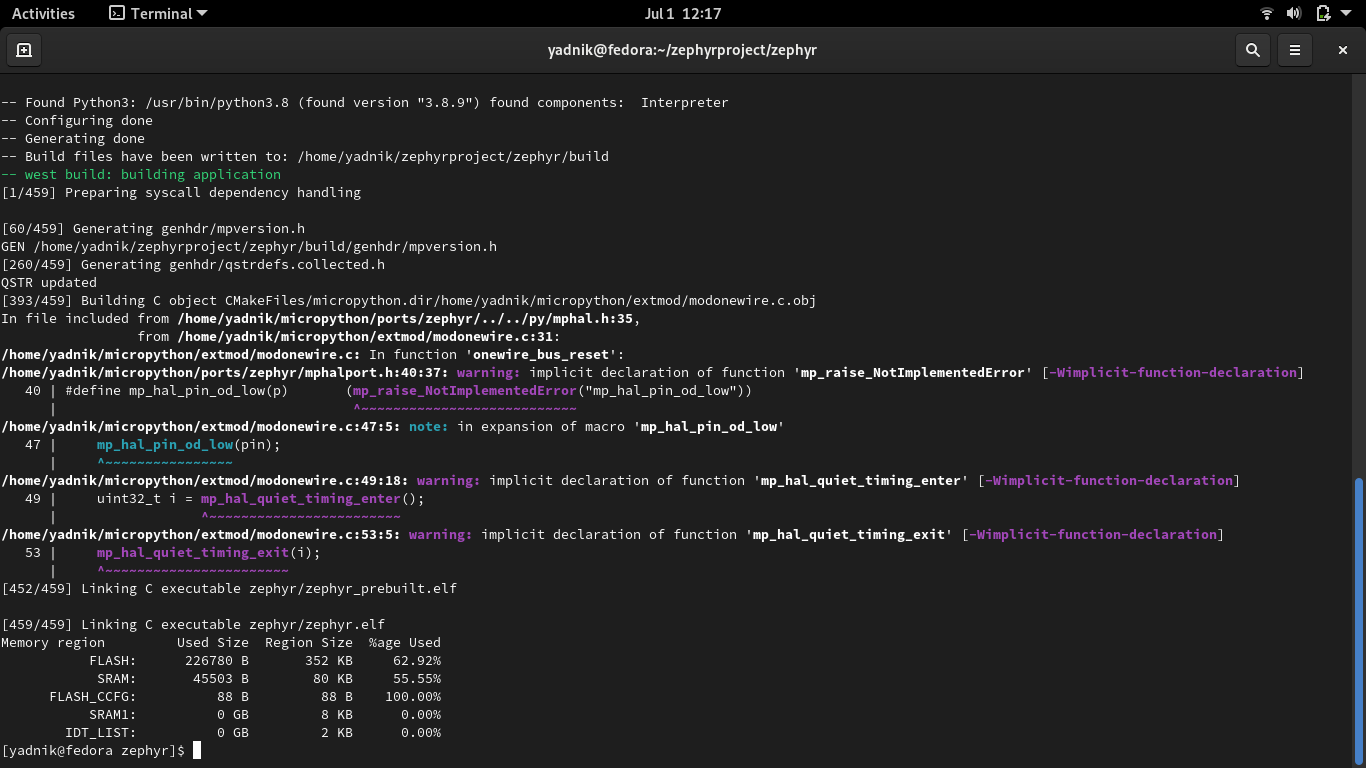
west build -b beagleconnect_freedom_cc1352r ~/micropython/ports/zephyr
You should get an output something like this:
Flashing the MicroPython application:
Before moving on to the flashing process we need to take care of a few things:
-
Install the msp430_python tools python package available here:
-
Use the command
dmesg | tailto locate the tty device. On my machine I get /dev/ttyACM0 which is a USB communication device (CDC) of sub-type “abstract control model” (ACM). -
Changing permissions on serial ports: Use this command to change permission-
sudo chmod 666 /dev/ttyUSB0 -
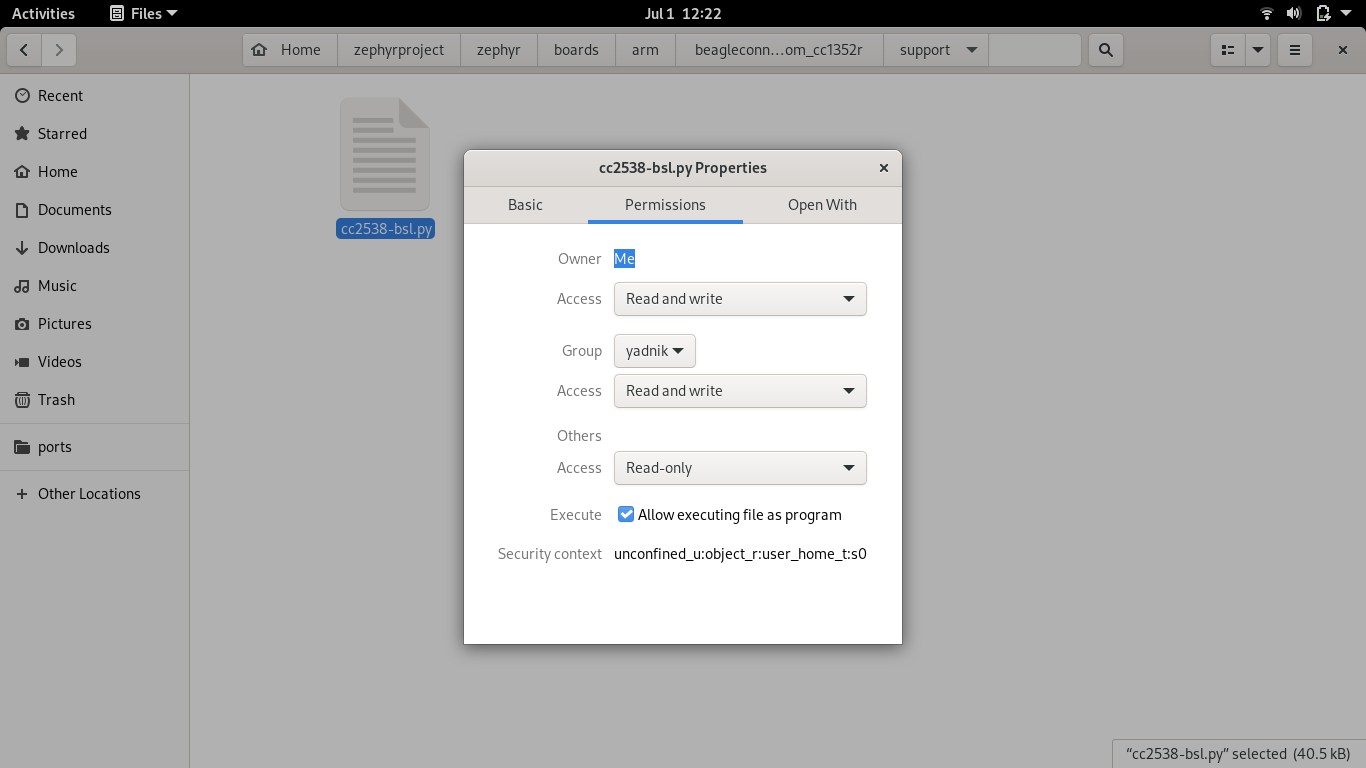
Make sure that the cc2538-bsl.py script is executable, for which you just have to make the file executable by selecting it in properties as seen:
We are now ready to go: Before flashing run the command :
cd zephyrproject/zephyr
Once you are in the zephyr directory run the command :
West flash -d build /dev/ttyUSB0
Please make sure to change the tty device as seen in your host machine.
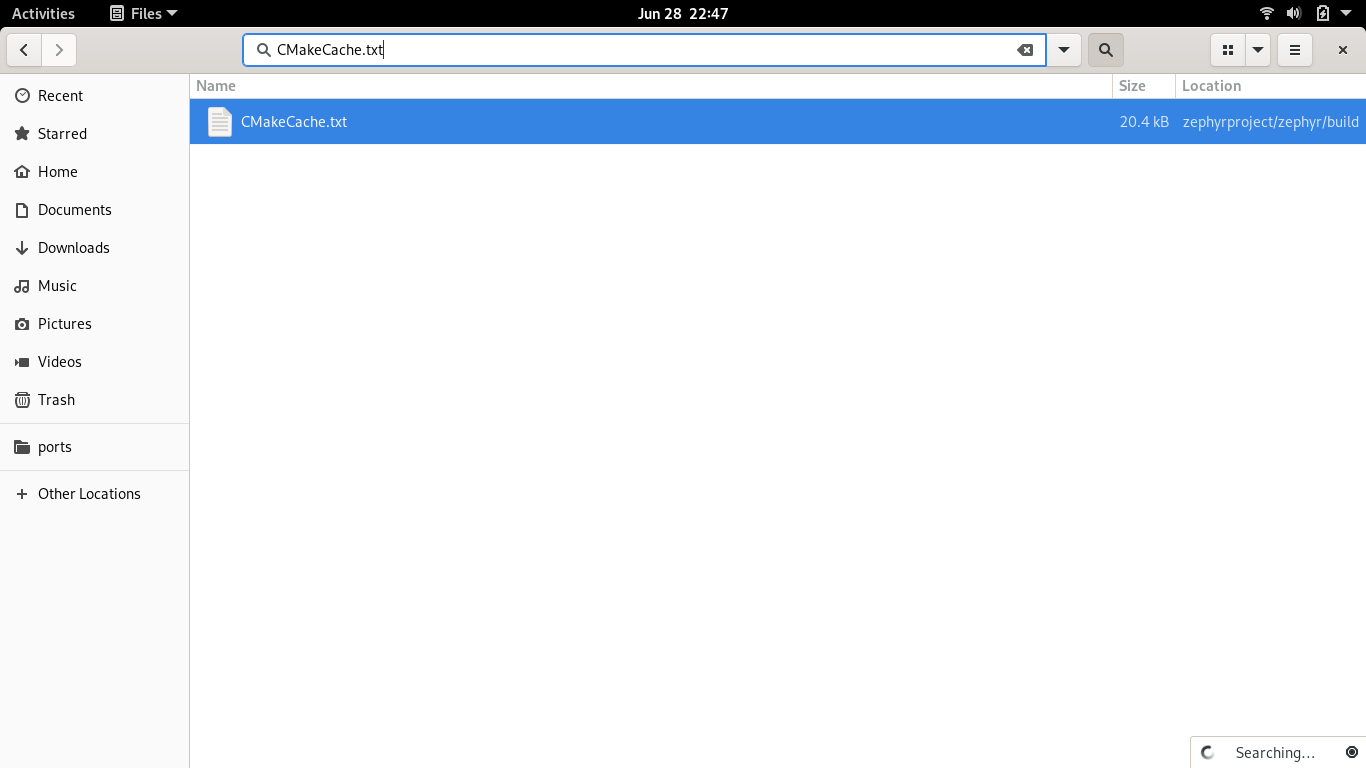
We use build in the command to specify the location of the Cmake cache whose location can be seen here:
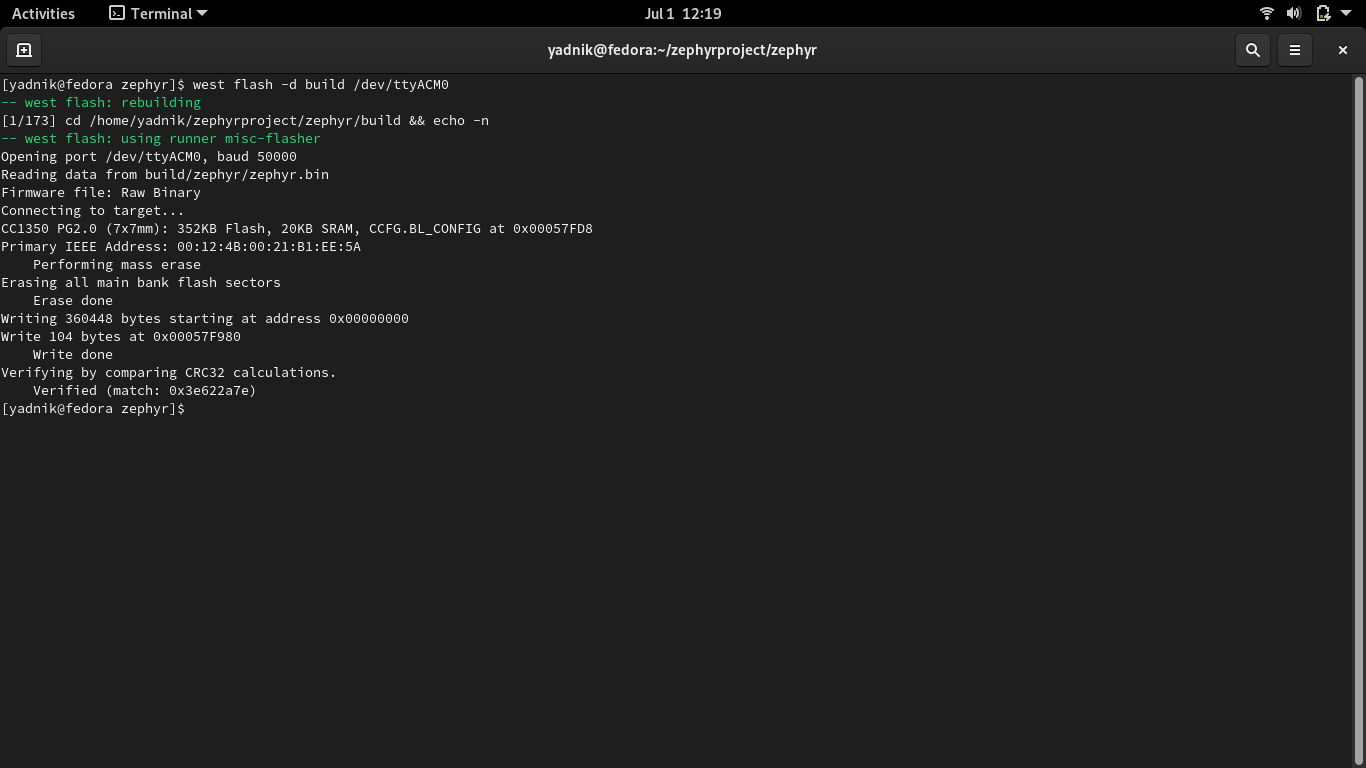
Once done your output will look like this and now the firmware has been flashed on the BeagleConnect Freedom.
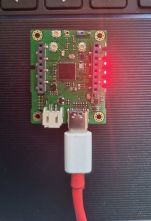
Bottom 3 LEDs on the board will start glowing once the flash has been completed.
Your flash has been successfully completed and you can now perform numerous MicroPython applications on the BeagleConnect Freedom.
References:
https://github.com/micropython/micropython/blob/master/ports/zephyr/README.md https://docs.zephyrproject.org/latest/getting_started/index.html https://github.com/jadonk/beagle_connect_zephyr_board https://github.com/zephyrproject-rtos/zephyr